
Understanding One of the Most Important Tools in Swimming Pool Leak Detection
When homeowners first begin searching for the source of a swimming pool leak, dye testing is often the first method they encounter. It appears simple enough at first glance: place a small amount of colored dye near a suspected leak, watch how the dye moves, and determine whether water is being pulled into a crack, fitting, skimmer, light, or other opening. Because the process is visual and easy to understand from the outside, many people assume dye testing is one of the most basic and straightforward parts of swimming pool leak detection.
The reality is much different.
Dye testing can be simple in concept, but performing it accurately requires patience, experience, and a strong understanding of how swimming pools fail. After thousands of leak detections, you begin to realize that the dye itself is only a tool. The real value comes from knowing where to test, how slowly to apply the dye, how to interpret water movement, and how to separate a legitimate leak from normal circulation, siphoning, backflow, or water disturbance. A homeowner can absolutely purchase a dye testing kit and inspect obvious areas around the pool, but professional dye testing is not random. It is a methodical process built on construction knowledge, hydraulic behavior, and years of observing the same failure points repeat across different pools.
That is why dye testing remains one of the most important skills in swimming pool leak detection. It allows a technician to confirm water movement that would otherwise remain invisible visually. When performed correctly, it can reveal a small separation around a return fitting, a hidden leak in a skimmer throat, a failed pool light conduit, a crack in the shell, or a separation around a drain sump. When performed incorrectly, however, dye testing can easily lead to confusion, false positives, and missed leaks that should have been detected.
What Dye Testing Is Actually Designed to Accomplish
The purpose of dye testing is not simply to squirt dye around the pool and hope something obvious happens. The real purpose is to understand what the water is doing. Every active leak creates some form of water movement, whether that movement is dramatic and easy to see or extremely subtle and nearly invisible. If water is escaping through a crack, separation, fitting, conduit, skimmer throat, or plumbing penetration, it creates a current as the water leaves the pool. Dye testing makes the current visible.
This is why the water must be as still as possible during the test. If the pump is running, return jets are circulating water, wind is moving across the surface, or the person performing the test is creating turbulence by moving too quickly, it becomes much harder to identify true leak movement. The dye may drift, swirl, or disperse in ways unrelated to an actual leak. A proper dye test is about creating a controlled environment where even a very small current can be seen clearly.
When a professional leak detection technician approaches a pool, they are not just looking for dye to disappear into an opening. They are studying how the dye behaves. Does it sit still? Does it slowly drift in one direction? Does it get pulled sharply into a crack? Does it move back and forth because of residual water movement? Does it appear to be drawn into a fitting, only to come out somewhere else because of siphoning or backflow? These details matter because not every movement of the dye indicates that the pool is leaking at that exact location.
The Equipment Needed to Dye Test a Swimming Pool
At a basic level, dye testing requires a syringe, a fine applicator tip or needle, and a highly visible leak detection dye. Professional leak detection technicians often use a Luer-lock syringe system because the needle twists securely into place and provides much better control underwater. That control is important because accurate dye testing depends on releasing very small amounts of dye without disturbing the water around the area being tested.
For homeowners, a basic dye-testing kit is usually enough to perform a simple inspection of common leak areas. Many kits include a small syringe, dye solution, and applicator tip, which can be used around skimmers, returns, lights, and visible cracks. A homeowner does not need a large professional kit to begin testing a personal pool, but the equipment still needs to allow slow and controlled application. If the applicator releases too much dye at once, the test becomes much less accurate.
A small inspection mirror can also be extremely useful. Many swimming pool leaks occur in areas that are difficult to see directly, especially around the top of return fittings, the hidden corners of skimmer throats, and behind pool lights. A simple dental mirror allows you to look upward, behind fittings, and around tight corners while applying dye. This tool becomes especially valuable when the leak is located at the 11 o’clock or 12 o’clock position around a pipe or fitting, where your direct line of sight from the surface is blocked.

Dye Testing Kit
Used to visually identify structural swimming pool leaks.
As an Amazon Associate, I earn from qualifying purchases.
View on AmazonPreparing the Pool Before Dye Testing
Before dye testing begins, the pool must be in the best possible condition for accurate testing. The pump and timer should be turned off to prevent the system from unexpectedly starting, and the water should be given a few minutes to settle. Even after the equipment turns off, residual currents can continue to flow through the pool for several minutes, especially if the pool has been circulating vigorously.
The goal is to create the calmest body of water possible. A calm pool makes it much easier to see whether the dye is responding to an actual leak or simply moving because of normal water disturbance. In a small pool, even a light breeze can move the water enough to complicate the test. In a pool-and-spa combination, water can also flow between the pool and the spa if there is backflow or a failed check valve. These conditions do not necessarily prevent dye testing, but they must be understood before interpreting the results.
The pool also needs to be full enough for the suspected leak areas to remain underwater. This is one of the most important details homeowners often overlook. If a pool has already dropped below the skimmer throat, tile line, light, or return fitting you are trying to test, dye testing cannot confirm that area as an active leak because water is no longer covering the suspected failure point. For concrete pools, the pool should typically be filled to the normal operating level, often around the middle of the tile line, so that every relevant structural area can be properly tested.
Filling the Syringe Correctly
One small detail that makes a major difference is how the dye syringe is filled. If the plunger is pulled back too quickly, air enters the syringe along with the dye. That trapped air becomes a problem during testing because when pressure is applied to the plunger, the applicator may release a sudden burst of air and dye rather than a smooth, controlled stream. That burst disturbs the surrounding water, making the test far less accurate.
The syringe should be filled slowly. The applicator tip should be placed into the dye container, and the plunger should be pulled back with patience so the syringe fills mostly with dye rather than air. A small air pocket may remain, but the goal is to avoid filling a large portion of the syringe with air. A properly filled syringe gives the person testing much better control and allows the dye to be released in a fine stream instead of an uncontrolled cloud.
This matters because successful dye testing depends on precision. If you release too much dye at once, you may overwhelm the area and lose the ability to see the small current you are trying to observe. Many leaks are not dramatic. Some are tiny pinholes, small separations, or hairline openings that only pull a very slight amount of water. Those leaks can easily be missed if the dye is applied too aggressively.
How to Apply Dye the Right Way
The most important technique in dye testing is learning how little dye to use. When testing around a crack, skimmer throat, return fitting, pool light, or drain, you should not blast the area with a large cloud of dye. Instead, the applicator should be placed gently underwater, close to the suspected leak area, and the dye should be released in a very small, controlled stream.
This allows the dye to behave naturally in the water. If there is no leak, the dye may remain mostly still or drift gently with the surrounding water. If there is an active leak, the dye may begin moving toward a specific crack, opening, or separation. In some cases, the pull will be very obvious. In other cases, the movement will be so subtle that you need to test the same area multiple times from different angles before you can confidently interpret what is happening.
Professional dye testing is slow. It requires careful observation and patience. The goal is not to finish quickly. The goal is to give each potential failure point enough attention to determine whether it is actively pulling water. That means testing around the entire circumference of fittings, checking every corner of the skimmer throat, examining previous repair areas, and using mirrors or flashlights when necessary.

Underwater Flashlight
Used to inspect pool lights, fittings, drains, and structural cracks underwater.
As an Amazon Associate, I earn from qualifying purchases.
View on AmazonDye Testing Around Pool Returns and Spa Jets
Return fittings and spa jets are common areas to inspect because they are penetrations through the pool shell. Any time plumbing passes through concrete, plaster, tile, fiberglass, or vinyl, there is a potential point of failure. Over time, the material surrounding the fitting can separate from the pipe, previous repair material can deteriorate, or small cracks can develop around the penetration.
When dye testing a return fitting, the dye should be applied slowly along the entire length of the pipe, not just the most visible section. Many leaks occur at the top of the fitting, where the separation is difficult to see from the surface. This is where an inspection mirror comes in handy. By positioning the mirror under or around the fitting, you can observe areas that would otherwise be hidden.
It is also important to understand that water movement around spa jets can be misleading. In some spas, a siphon can form, causing water to appear to be drawn into one jet and pushed out of another. This can happen even without a leak. If dye gets pulled into one spa jet, the first reaction may be to assume that the spa jet line is broken. But before drawing that conclusion, it is important to determine whether the water is simply circulating through the jet system and returning somewhere else.
Understanding Siphoning and Backflow During Dye Testing
One reason dye testing can be more complicated than it appears is that pool and spa systems can move water even when the equipment is off. In a pool-and-spa combination, backflow can occur when a check valve fails or does not seal properly. A check valve is designed to prevent water from flowing backward from the spa into the pool, but when it fails, water from the raised spa can begin draining back into the pool through the plumbing system.
During dye testing, this can create a false positive. You may place dye in front of a spa jet and see it get pulled into the line, which can look exactly like a leak. But if that same water is being pushed out of a pool return, the issue may not be a broken spa jet line at all. It may simply be water flowing backward through the plumbing because the check valve is not holding.
This is why dye testing must be interpreted within the larger context of the entire pool system. A single observation is not always enough. If dye is being pulled into one fitting, you need to understand where that water may be going. In some cases, closing the spa return valve at the equipment pad can stop the backflow and allow the technician to retest the spa jets under more controlled conditions. If the dye movement stops after isolating the line, the issue was likely hydraulic movement rather than an active leak at that fitting.

Check Valve
Prevents water from flowing backward between your pool and spa plumbing systems.
As an Amazon Associate, I earn from qualifying purchases.
View on AmazonDye Testing the Skimmer Throat
The skimmer throat is one of the most common leak locations in concrete swimming pools. The skimmer body is typically made of plastic, while the pool shell is concrete. Where those two materials meet, there is often a cold joint or transition point that can separate over time. Because the skimmer sits near the normal waterline, even a small separation can cause steady water loss.
When dye testing a skimmer throat, it is important to test slowly along the joint where the tile, plaster, concrete, and plastic skimmer housing meet. The corners of the skimmer throat deserve special attention because leaks in those areas can be extremely difficult to see. Sometimes the only visible clue is a tiny stream of dye disappearing into a corner that looks perfectly normal to the naked eye.
A mirror can be especially helpful in a skimmer throat because the tile or coping may block the view of the upper joint. If the tile sits slightly proud of the skimmer housing, a leak may be hidden behind the edge of the tile where it cannot be seen directly. Testing that area carefully can make the difference between finding the leak and missing it entirely.
Dye Testing Pool Lights
Pool lights and spa lights are another important area to inspect during leak detection. A pool light is not just a bulb mounted in the wall. Behind the visible fixture is a light niche, an electrical conduit, screws, mounting points, and structural penetrations that can all become potential leak paths.
To properly dye test a pool light, the light fixture usually needs to be removed from the niche. Before doing this, the power to the light should be turned off at the breaker for safety. Once the fixture is removed, the technician can inspect the niche itself, including the conduit opening at the back of the housing and the perimeter of the light niche where it meets the pool shell.
Light conduit leaks can be especially significant because they often occur behind the structure, where homeowners cannot see them. Water may escape through the conduit opening and travel behind the pool shell into the surrounding soil. In many cases, previous repair material such as pool putty, epoxy, silicone, or butyl tape may already be visible inside the niche. Any sign of prior repair should be treated as a red flag and thoroughly tested.
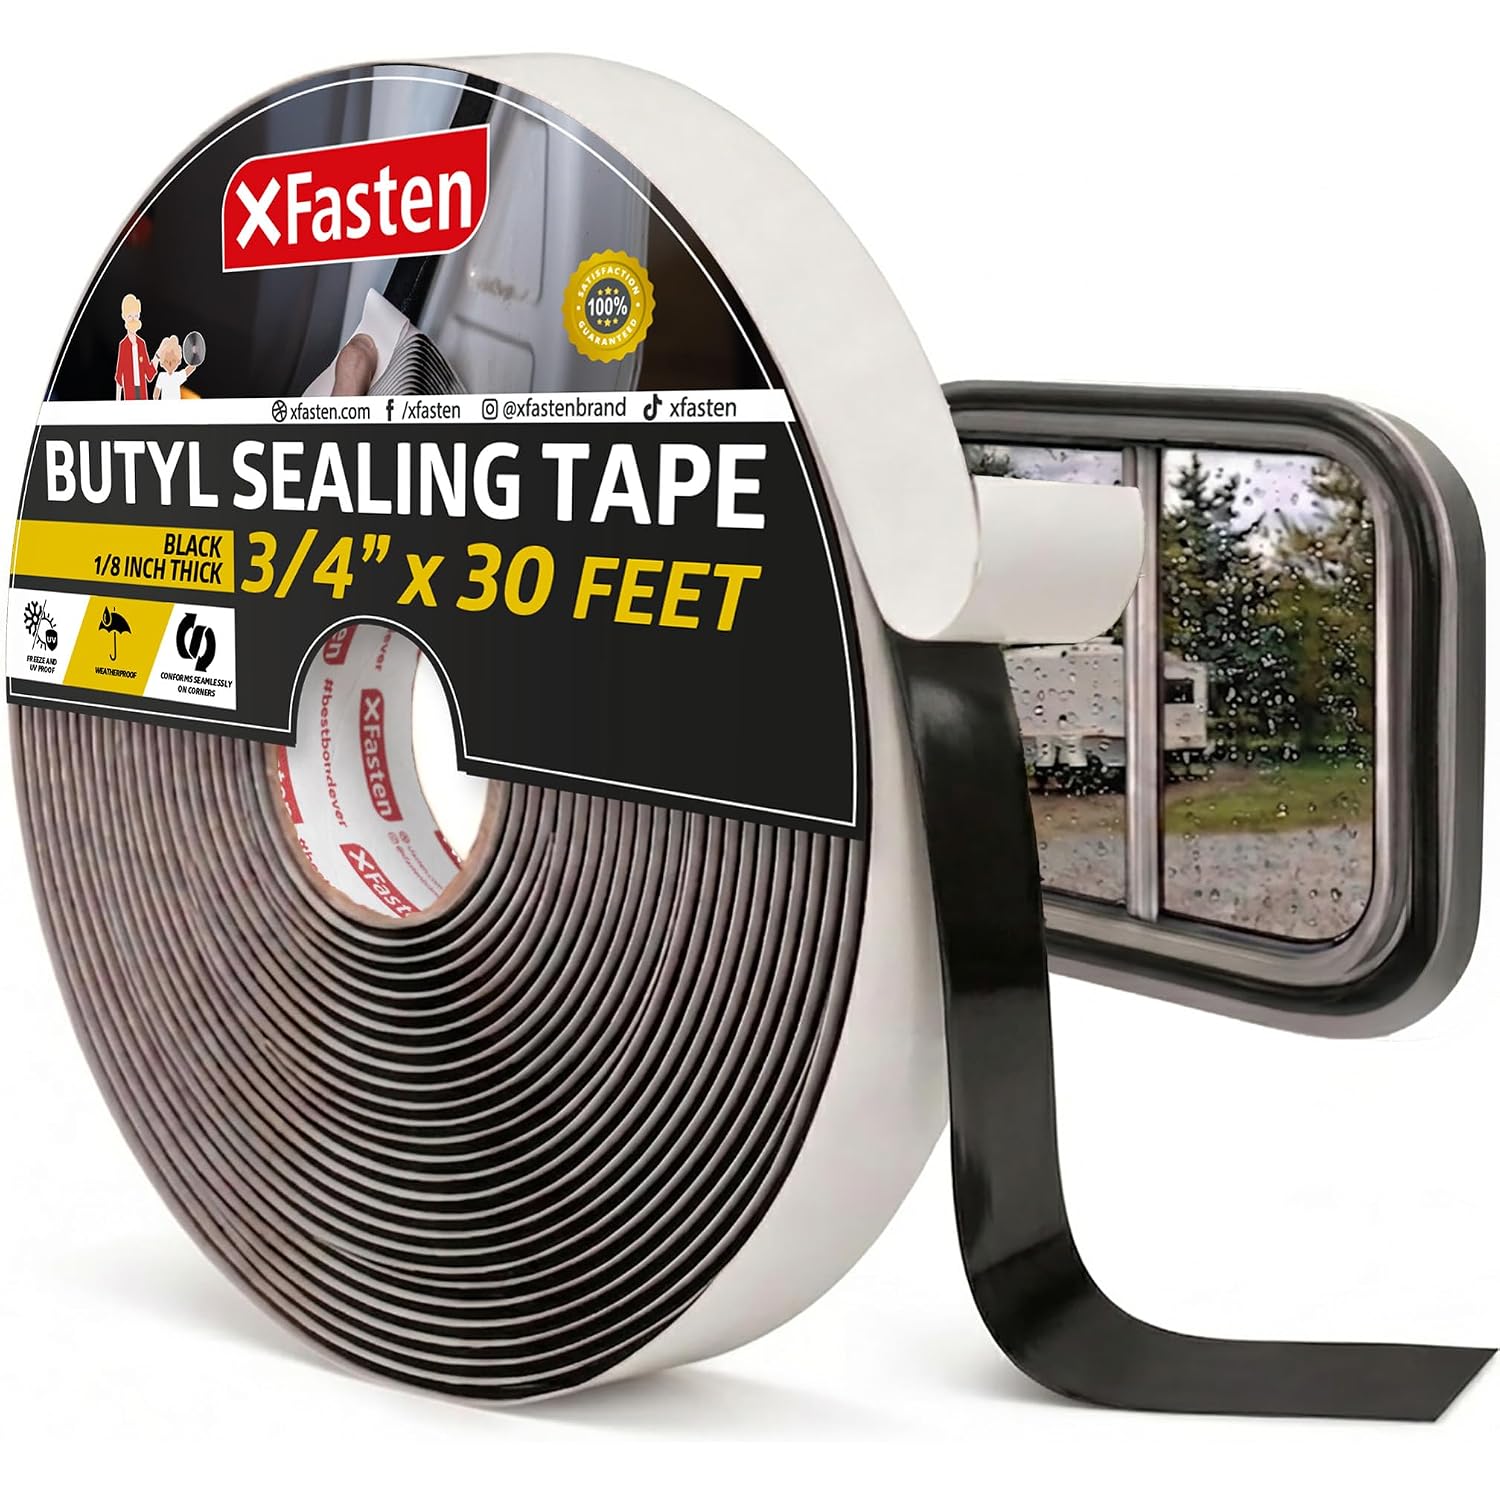
Butyl Tape
Commonly used for underwater swimming pool light leak repairs.
As an Amazon Associate, I earn from qualifying purchases.
View on AmazonDye Testing the Main Drain
Main drains should also be inspected during a complete dye test, especially on concrete pools. Beneath the drain cover is usually a drain sump, which is essentially a plastic housing or bucket that connects to the main drain plumbing line. Over time, the sump can separate from the surrounding concrete structure, creating a leak around the top rim of the drain housing.
To properly inspect the drain, the cover usually needs to be removed. Once the cover is off, dye can be applied slowly around the top rim of the sump where the plastic housing meets the pool structure. Because the main drain is located at the deepest part of the pool, any separation in that area can experience significant water pressure. In some cases, drain leaks are also very noticeable when using a hydrophone because escaping water at the bottom of the pool can create a strong acoustic signature.
The main drain is not always the source of a leak, but it should not be ignored. A complete structural dye test includes the skimmer, returns, lights, drains, spa jets, visible cracks, and any previous repair areas.
Why Previous Repairs Are Always a Red Flag
During dye testing, the previous repair material should always attract attention. If you see pool putty, epoxy, silicone, tape, hydraulic cement, or any other patching material around a fitting, light, crack, or skimmer throat, it usually means someone has suspected or attempted to repair a leak in that location before.
That does not automatically mean the area is still leaking. Some previous repairs hold perfectly well. But many temporary repairs eventually fail, especially when they are applied underwater, installed without proper preparation, or used in areas that continue to move over time. Dye testing these areas carefully is important because a failed old repair may be the exact reason the pool has started losing water again.
This is especially common around pool lights, return fittings, spa jets, and skimmer throats. A quick visual inspection may show that the area has been patched. However, dye testing is what helps determine whether that patch is still functioning or whether water is actively escaping through the same failure point again.
Why Thoroughness Matters More Than Speed
One of the most important lessons in leak detection is that haste leads to missed leaks. Early in a technician’s career, it is easy to move too quickly, especially when the leak is not obvious. The temptation is to test the major components, move around the pool, and assume that if nothing dramatic appears, there is no structural leak. But many swimming pool leaks are not dramatic.
Some leaks are tiny. A small pinhole around a return fitting, a narrow separation in a skimmer throat corner, or a hairline opening around a drain sump can cause water loss that is difficult to identify unless the test is performed slowly and carefully. These are the types of leaks that are missed when a technician does not use a mirror or flashlight, applies too much dye, or fails to test every angle of a fitting.
A professional dye test requires discipline. The technician must thoroughly check each common failure point, even when the pool appears normal. That means taking the time to test all sides of fittings, every corner of skimmers, all visible cracks, all patched areas, light niches, drain sumps, and the transitions where different materials meet. The more experience a technician gains, the more they understand that the smallest detail can be the entire reason a pool is losing water.
Surface Dye Testing Versus Underwater Dye Testing
Some dye testing can be performed from the surface, especially around skimmers, shallow returns, tile-line cracks, and accessible fittings. However, many important components require underwater inspection. Pool lights, main drains, deep return fittings, floor fittings, and structural cracks in deeper areas often cannot be properly tested from the deck.
This is where diving equipment becomes extremely useful for professional leak detection. A weight belt allows the technician to remain stable underwater rather than float back to the surface. A hookah diving system or scuba setup allows the technician to remain underwater long enough to thoroughly inspect areas without repeatedly surfacing for air. This matters because movement creates current, and current makes dye testing harder.
When a technician is constantly swimming up and down, kicking, adjusting position, or struggling to stay underwater, the water around the test area becomes disturbed. That disturbance can make subtle dye movement difficult to see. The ability to stay still underwater allows the technician to work slowly and observe, which is especially important when looking for small structural leaks.
Diving Gear We Use
Explore the diving equipment we use for underwater swimming pool leak detection inspections.
As an Amazon Associate, I earn from qualifying purchases.
View Diving GearWhy Professional Experience Makes Dye Testing More Effective
Anyone can buy a dye testing kit. The difference between a homeowner test and a professional leak detection is not simply the tool being used. The difference is the knowledge behind the test.
After performing thousands of leak detections, a technician develops a mental catalog of failure points. They know to check the skimmer throat corners, the transition between the plastic skimmer and the tile, the top of return fittings, the light conduit, the drain sump, the areas where previous repairs were applied, the tile line, the plaster-to-fitting transitions, and the small places that most people would never think to inspect.
That knowledge is built through repetition. It comes from missing leaks, learning from difficult jobs, seeing the same failures across hundreds of pools, and developing an instinct for where water is most likely to escape. Over time, dye testing becomes less about checking random areas and more about following a highly informed diagnostic pattern.
This is the real value of professional leak detection. The dye is available to anyone, but the experience to interpret it correctly takes years to build.
Final Thoughts on Dye Testing a Swimming Pool
Dye testing remains one of the most valuable methods for identifying structural swimming pool leaks, but it is far more detailed than most homeowners realize. It requires calm water, controlled dye application, careful observation, and a strong understanding of how pools and spas move water. It also requires knowing the difference between an actual leak and misleading water movement caused by siphoning, backflow, circulation, or disturbance in the pool.
For homeowners, dye testing can be a helpful first step in determining whether a pool has a visible structural leak. It may reveal an obvious skimmer throat separation, a leaking return fitting, or a crack that is actively pulling water. However, if the leak is not immediately obvious or if the pool continues losing water after basic testing, it is usually time to bring in a professional who can combine dye testing with hydrophone inspections, pressure testing, and underwater structural evaluation.
The best leak detection results come from patience, process, and experience. When dye testing is performed correctly, it allows the pool to reveal exactly where water is escaping and helps prevent unnecessary repairs, guesswork, and wasted time.
Need Professional Swimming Pool Leak Detection?
If your swimming pool is losing water and you cannot identify the source of the problem, Precision Leak Detection provides professional swimming pool leak detection services throughout Palm Beach County and surrounding South Florida communities. Our process includes hydrophone inspections, dye testing, pressure testing, scuba-assisted structural evaluations, and detailed documentation designed to identify the source of your leak as accurately as possible.
We proudly service Palm Beach County, including Palm Beach, Wellington, Lake Worth Beach, Palm Springs, Jupiter, and surrounding areas.
Whether your leak is coming from a skimmer throat, pool light, return fitting, underground plumbing line, structural crack, spa system, or another hidden failure point, accurate diagnostics are the first step toward getting the problem repaired correctly.
Frequently Asked Questions About Dye Testing a Swimming Pool
Can dye testing find every swimming pool leak?
No. Dye testing is specifically designed to identify structural leaks where water is escaping through cracks, separations, fittings, skimmer throats, light niches, drains, or other openings within the pool shell. While it is one of the most effective methods for locating structural leaks, it cannot reliably identify all types of leaks. Underground plumbing leaks often require pressure and acoustic testing because the leaks occur outside the pool’s visible structure. Professional leak detection companies typically combine dye testing with several other diagnostic methods to determine the exact source of water loss.
What color dye is best for swimming pool leak detection?
Most professional leak detection technicians use highly visible fluorescent dyes that contrast well against plaster, tile, fiberglass, and vinyl surfaces. Bright yellow, fluorescent green, and dark blue dyes are among the most common options because they remain visible underwater and allow technicians to observe even subtle water movement. The color itself is less important than using a dye specifically formulated for swimming pool leak detection.
Should the pool pump be running during a dye test?
No. The pool pump should always be turned off before performing a dye test. Water circulation from the pump can interfere with the test, making it difficult to determine whether the dye is responding to an actual leak or simply moving with the current. Most professionals allow the water to settle for several minutes after shutting off the equipment before beginning the inspection.
How much dye should I use during a dye test?
Less is usually better. One of the most common mistakes homeowners make is releasing too much dye at once. Large clouds of dye can make it harder to identify subtle water movement. Professional leak detection technicians typically release very small amounts of dye in a slow, controlled stream so even minor leak currents can be observed clearly.
Where should I test the dye in my swimming pool first?
The most common structural leak locations include the skimmer throat, pool return fittings, spa jets, pool lights, main drains, visible cracks, and any area where previous repair material has been applied. These locations account for a significant percentage of structural swimming pool leaks and should generally be inspected before moving on to less common failure points.
Can I do a dye test on a swimming pool myself?
Yes. Many homeowners successfully perform basic dye testing with an inexpensive leak-detection kit. Simple structural leaks around skimmers, return fittings, lights, and visible cracks can often be identified without professional equipment. However, if the leak is small, intermittent, underwater, or related to underground plumbing, professional leak detection may be necessary to diagnose the problem accurately.
Why does my dye move even when there isn’t a leak?
Dye movement does not always indicate a leak. Backflow through plumbing lines, failed check valves, siphoning between a spa and pool, residual water circulation, wind, and normal hydraulic activity can all cause dye to move. This is one reason professional leak detection relies on multiple testing methods rather than relying solely on dye testing.
How accurate is professional dye testing?
When performed correctly, dye testing is extremely accurate for identifying structural swimming pool leaks. Professional technicians combine dye testing with construction knowledge, underwater inspections, pressure testing, and acoustic diagnostics to confirm their findings. Dye testing often provides visual confirmation of leak locations that would otherwise be impossible to identify.
What if my pool is losing water, but dye testing doesn’t reveal a leak?
If a complete dye test does not identify a structural leak, the problem may be related to underground plumbing, equipment leaks, evaporation misdiagnosis, autofill system issues, or hidden structural failures that require additional testing methods. In these situations, pressure testing, hydrophone inspections, and comprehensive leak detection procedures are often necessary to determine the true source of the water loss.
How much water loss indicates a swimming pool leak?
Most swimming pools lose a small amount of water through evaporation, weather conditions, and normal use. As a general rule, water loss exceeding approximately 1/4 to 1/2 inch per day should be investigated further. Performing a bucket test is often the easiest way to determine whether the pool is losing water faster than normal evaporation would account for.
Have You Ever Used Dye Testing to Find a Pool Leak?
Have you ever used dye testing to find a swimming pool leak? Were you able to locate the leak yourself, or did you eventually need professional leak detection? Share your experience in the comments below—we’d love to hear what you found and what ultimately solved the problem.


